The HighLevel Home Service Business Management Software
Manage dispatch, route plan, techs, quotes, invoices, and more in GHL, the only dedicated field service app for HighLevel home service businesses and contractors.
No image available
Learn how to view, create, and manage invoices in FieldTask while keeping invoice data synced with HighLevel.
FieldTask allows you to create and manage invoices directly from the platform while keeping them synchronized with HighLevel (GHL).
Any invoice created in FieldTask can automatically sync with GHL, allowing invoice updates made on either platform to reflect across both systems.
To access your invoices:
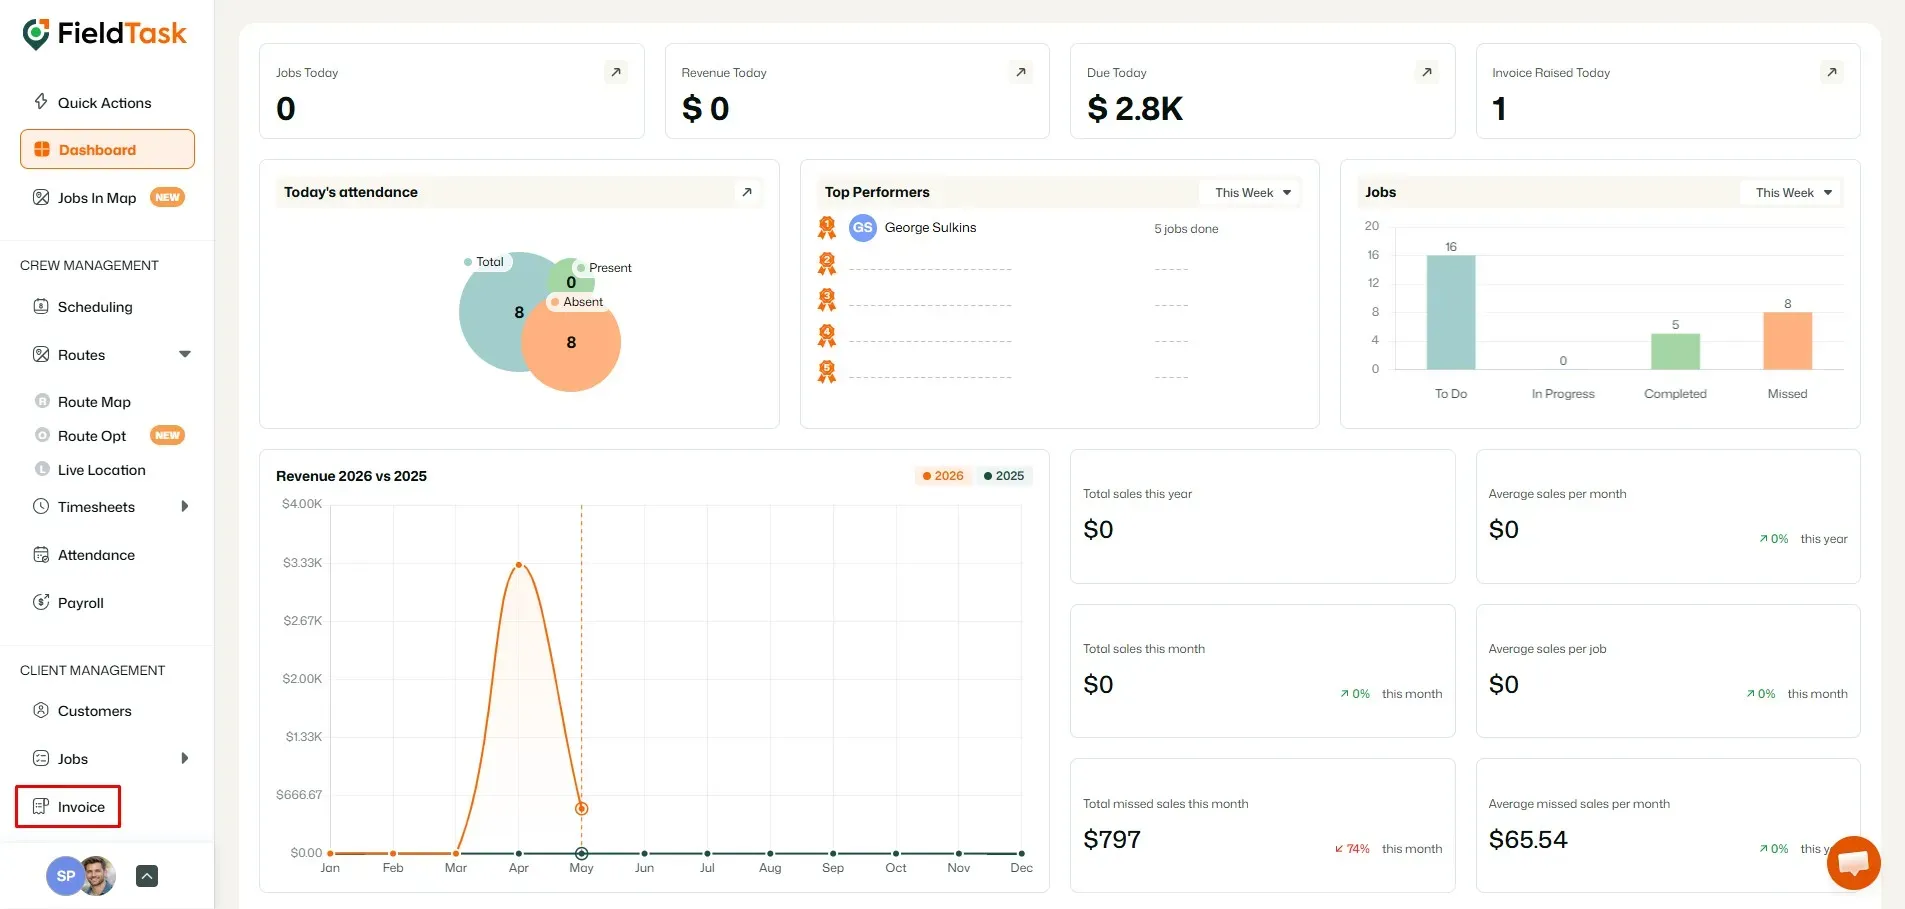
The page that loads will display all of your invoices.
You can use the Sync option on this page to view invoices from GHL that are available to be brought into FieldTask.
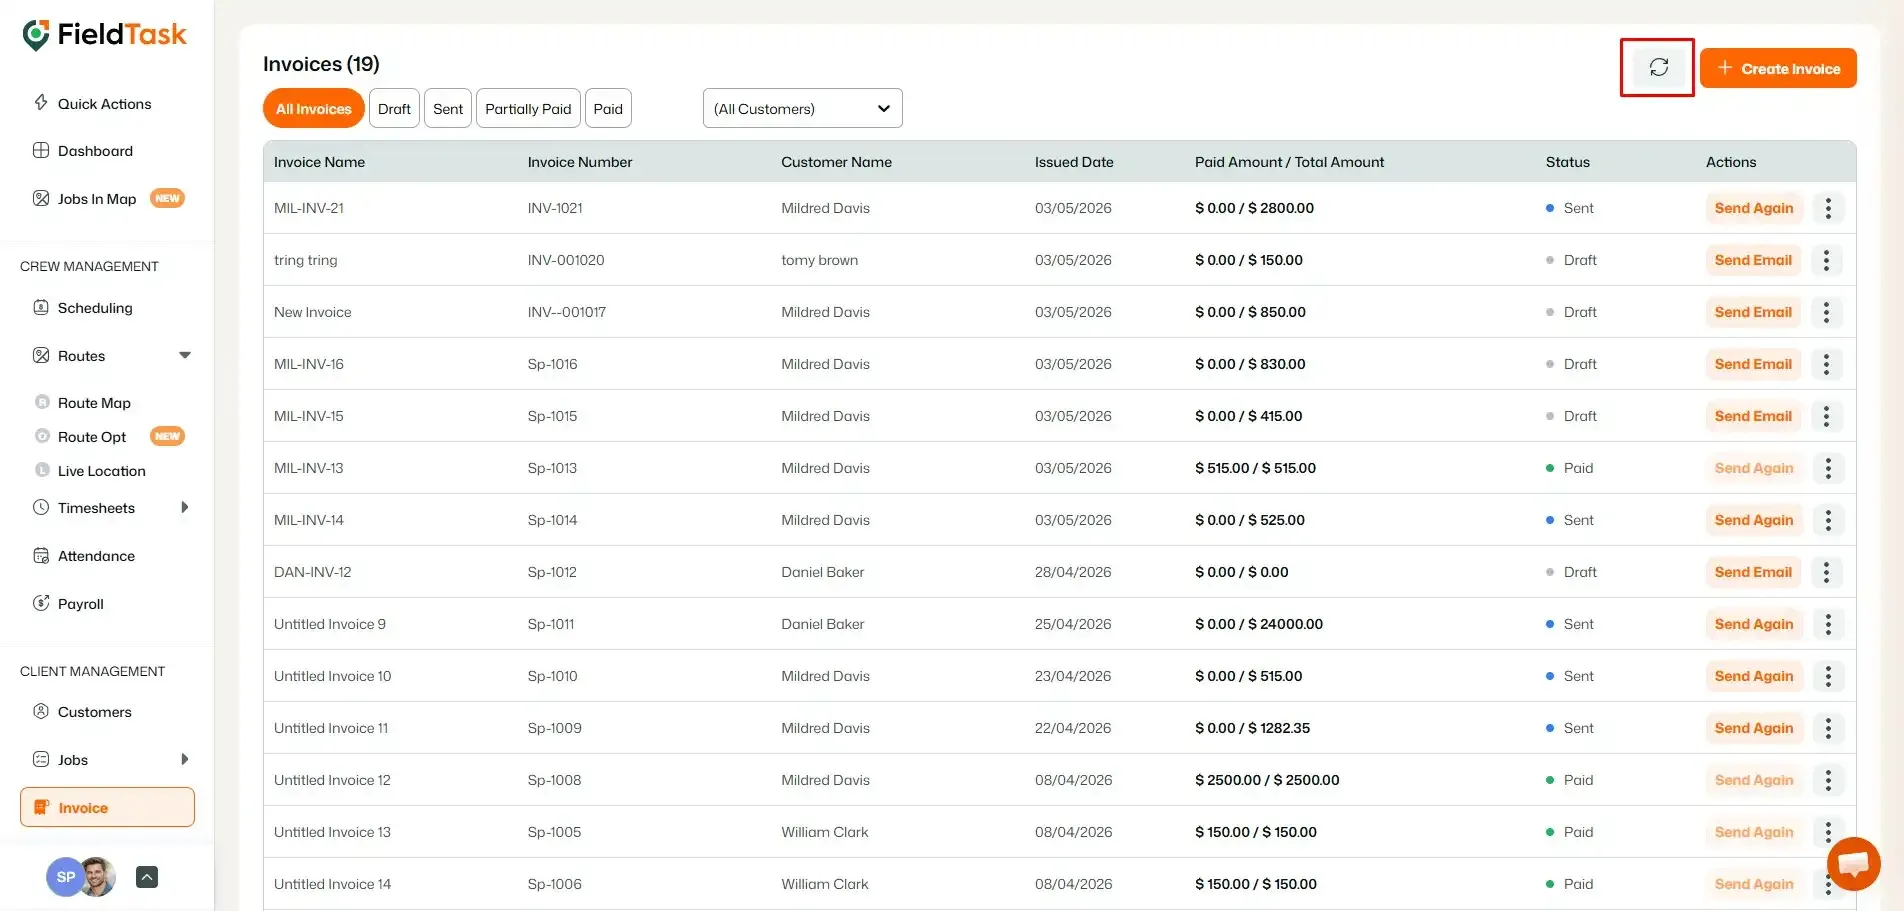
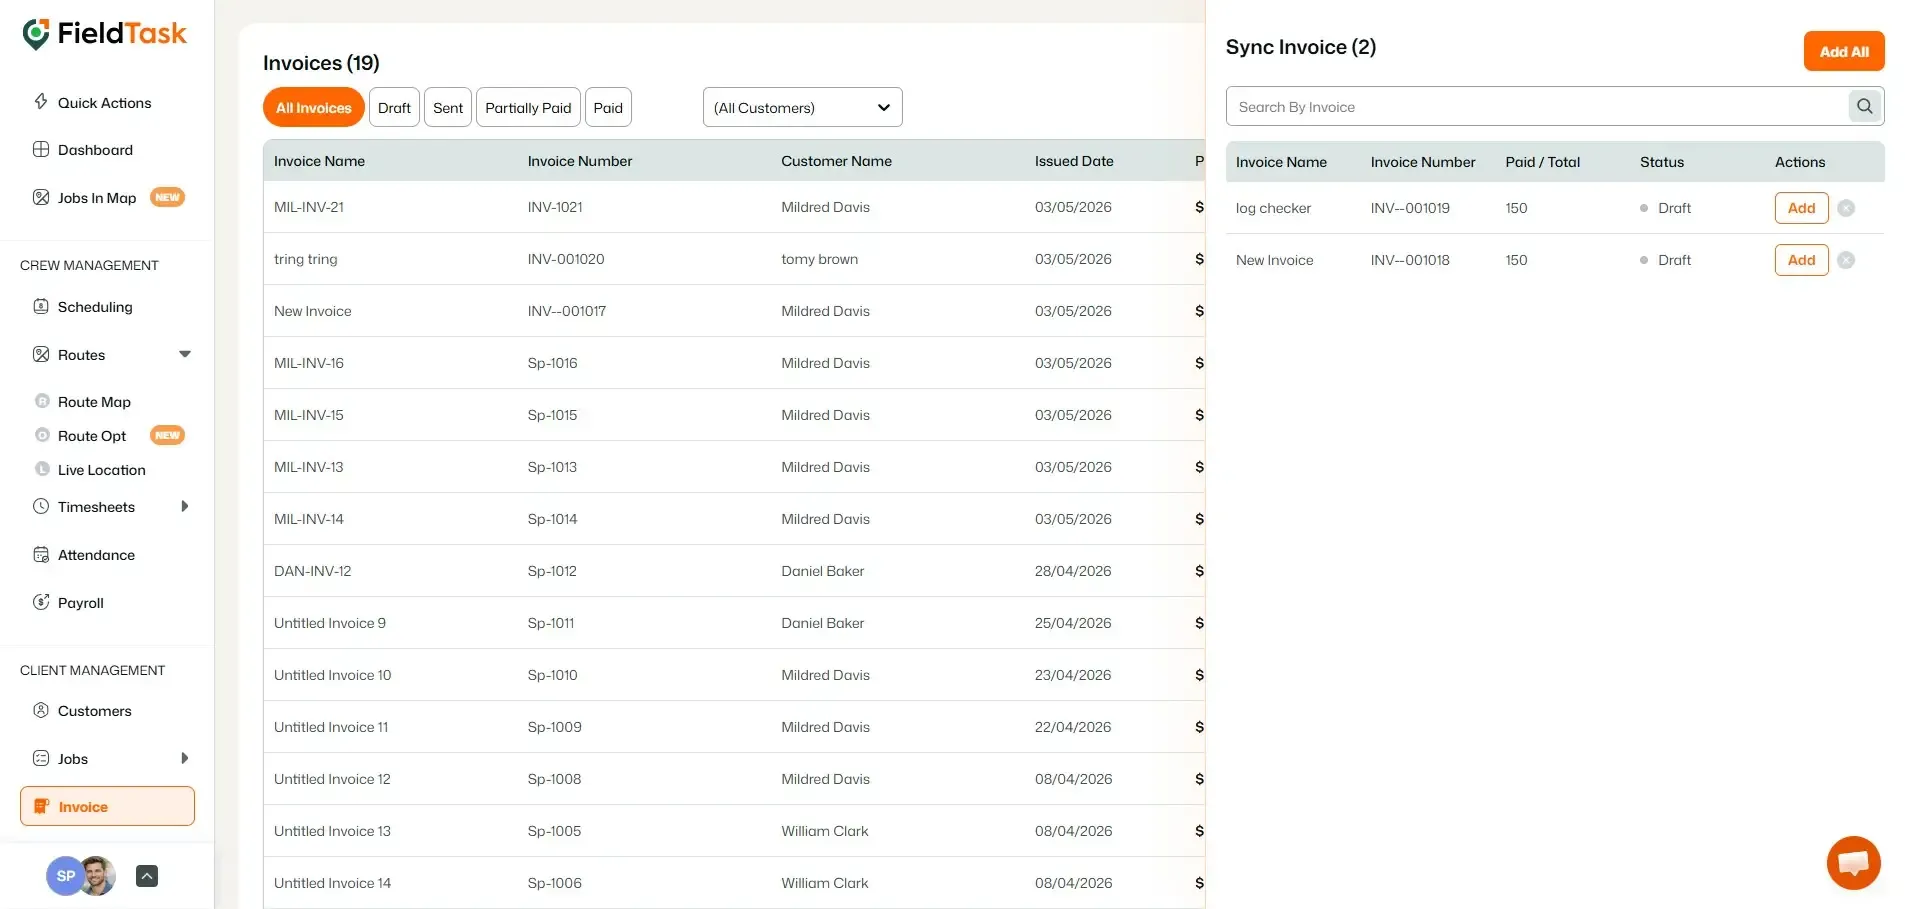
To create a new invoice:
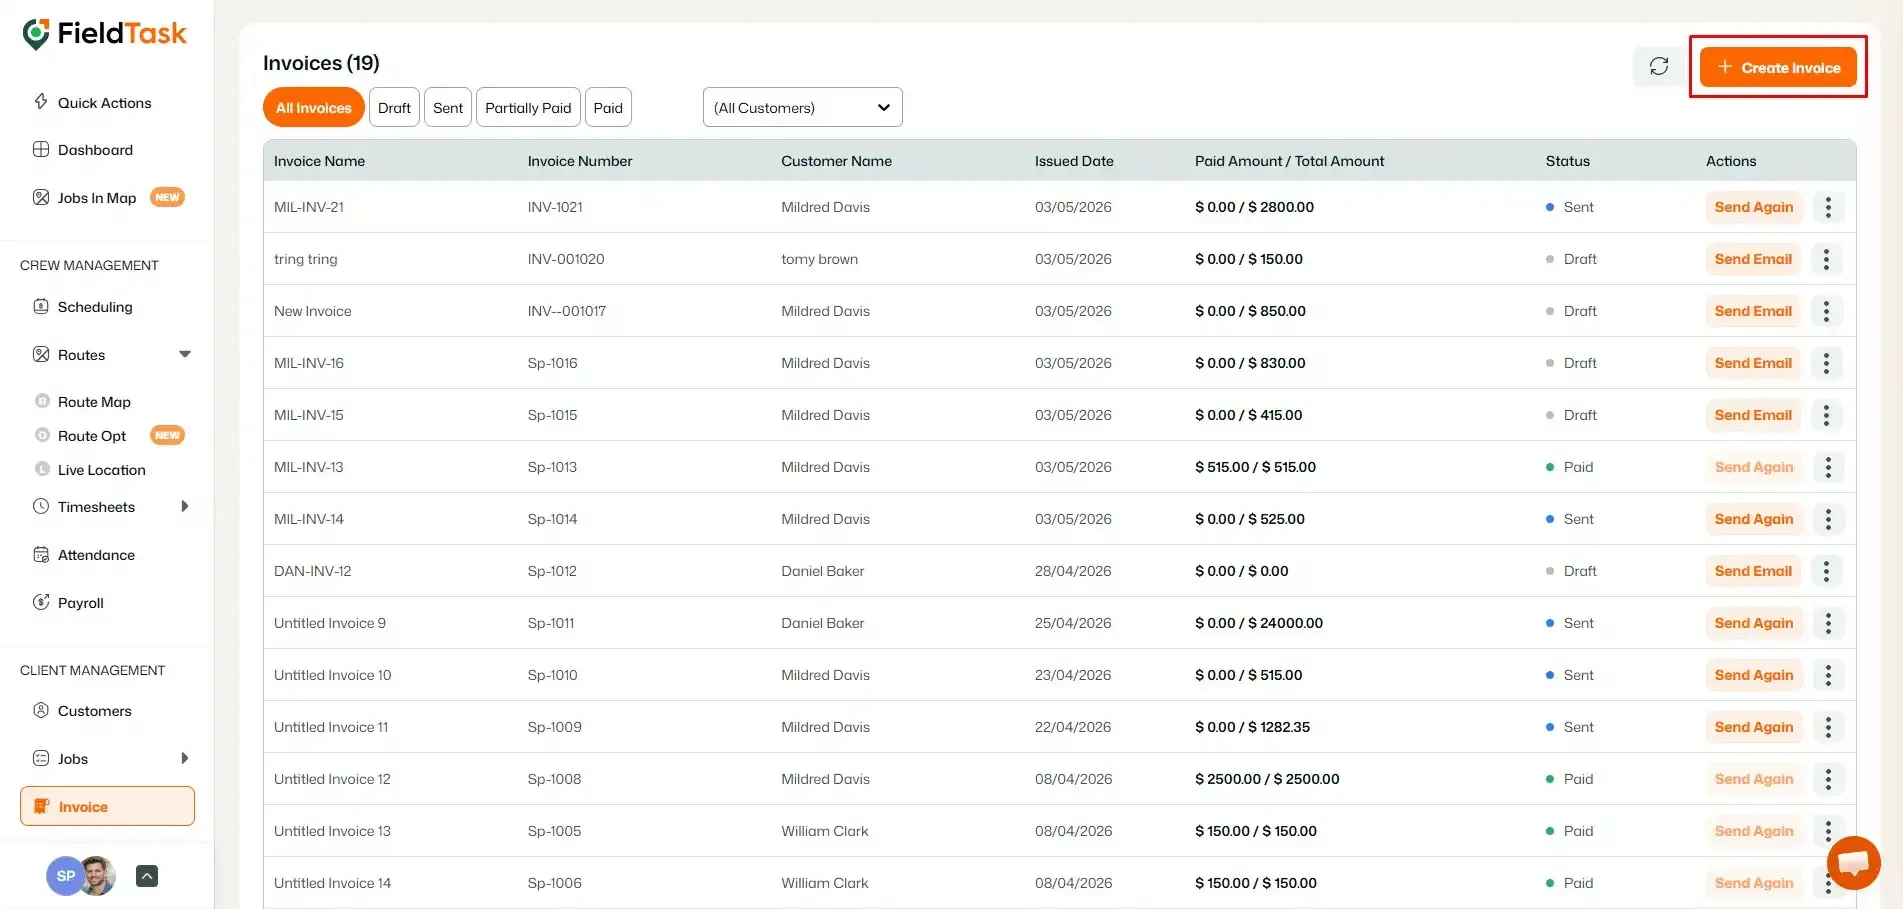
The Invoice Creation page will open.
The invoice form contains the following fields:
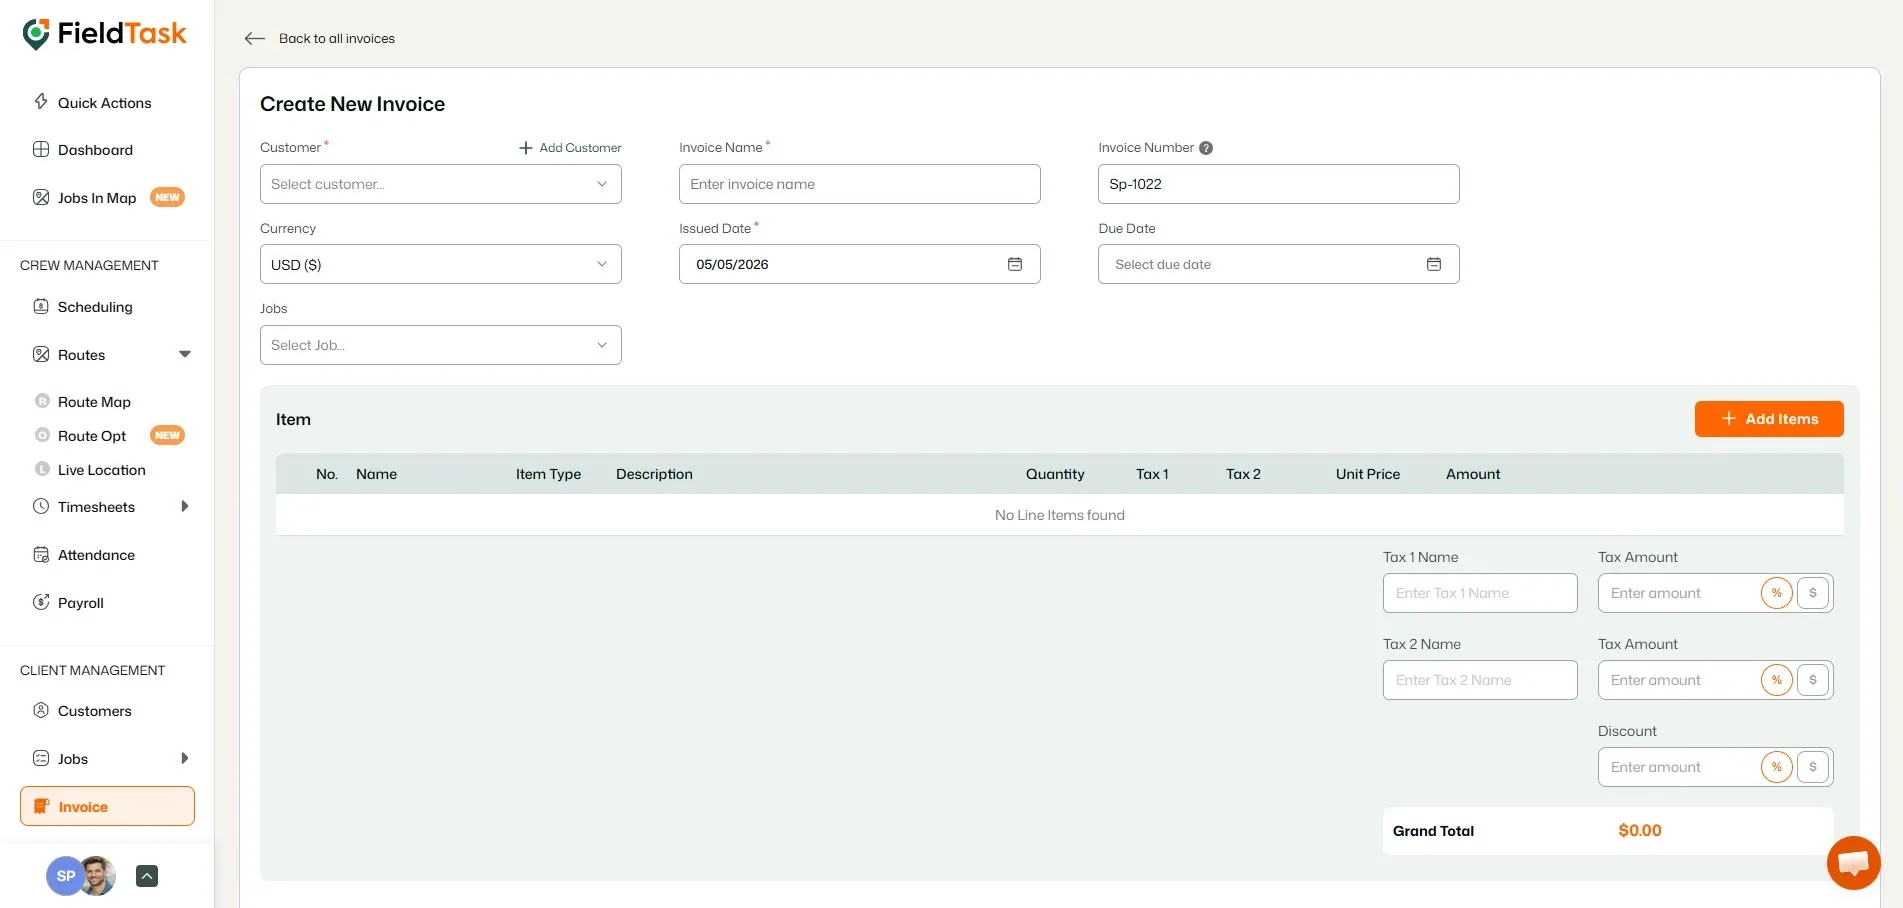
📌 Note: To learn more about the complete invoice creation process, follow the Raise Invoice article.
From the Invoice page, you can monitor and manage your invoices.
Invoices can have four different statuses:
You can use the available filters to find invoices based on their current status.
Invoices created in FieldTask will automatically sync with HighLevel.
This two-way sync allows:
This helps you manage invoices without needing to maintain separate records in FieldTask and HighLevel.
Manage dispatch, route plan, techs, quotes, invoices, and more in GHL, the only dedicated field service app for HighLevel home service businesses and contractors.
The complete FieldTask sitemap: quick links to all pages.
Learn how FieldTask supports HIPAA compliance for home health and field service teams—encryption, BAAs, access controls, and audit logging.